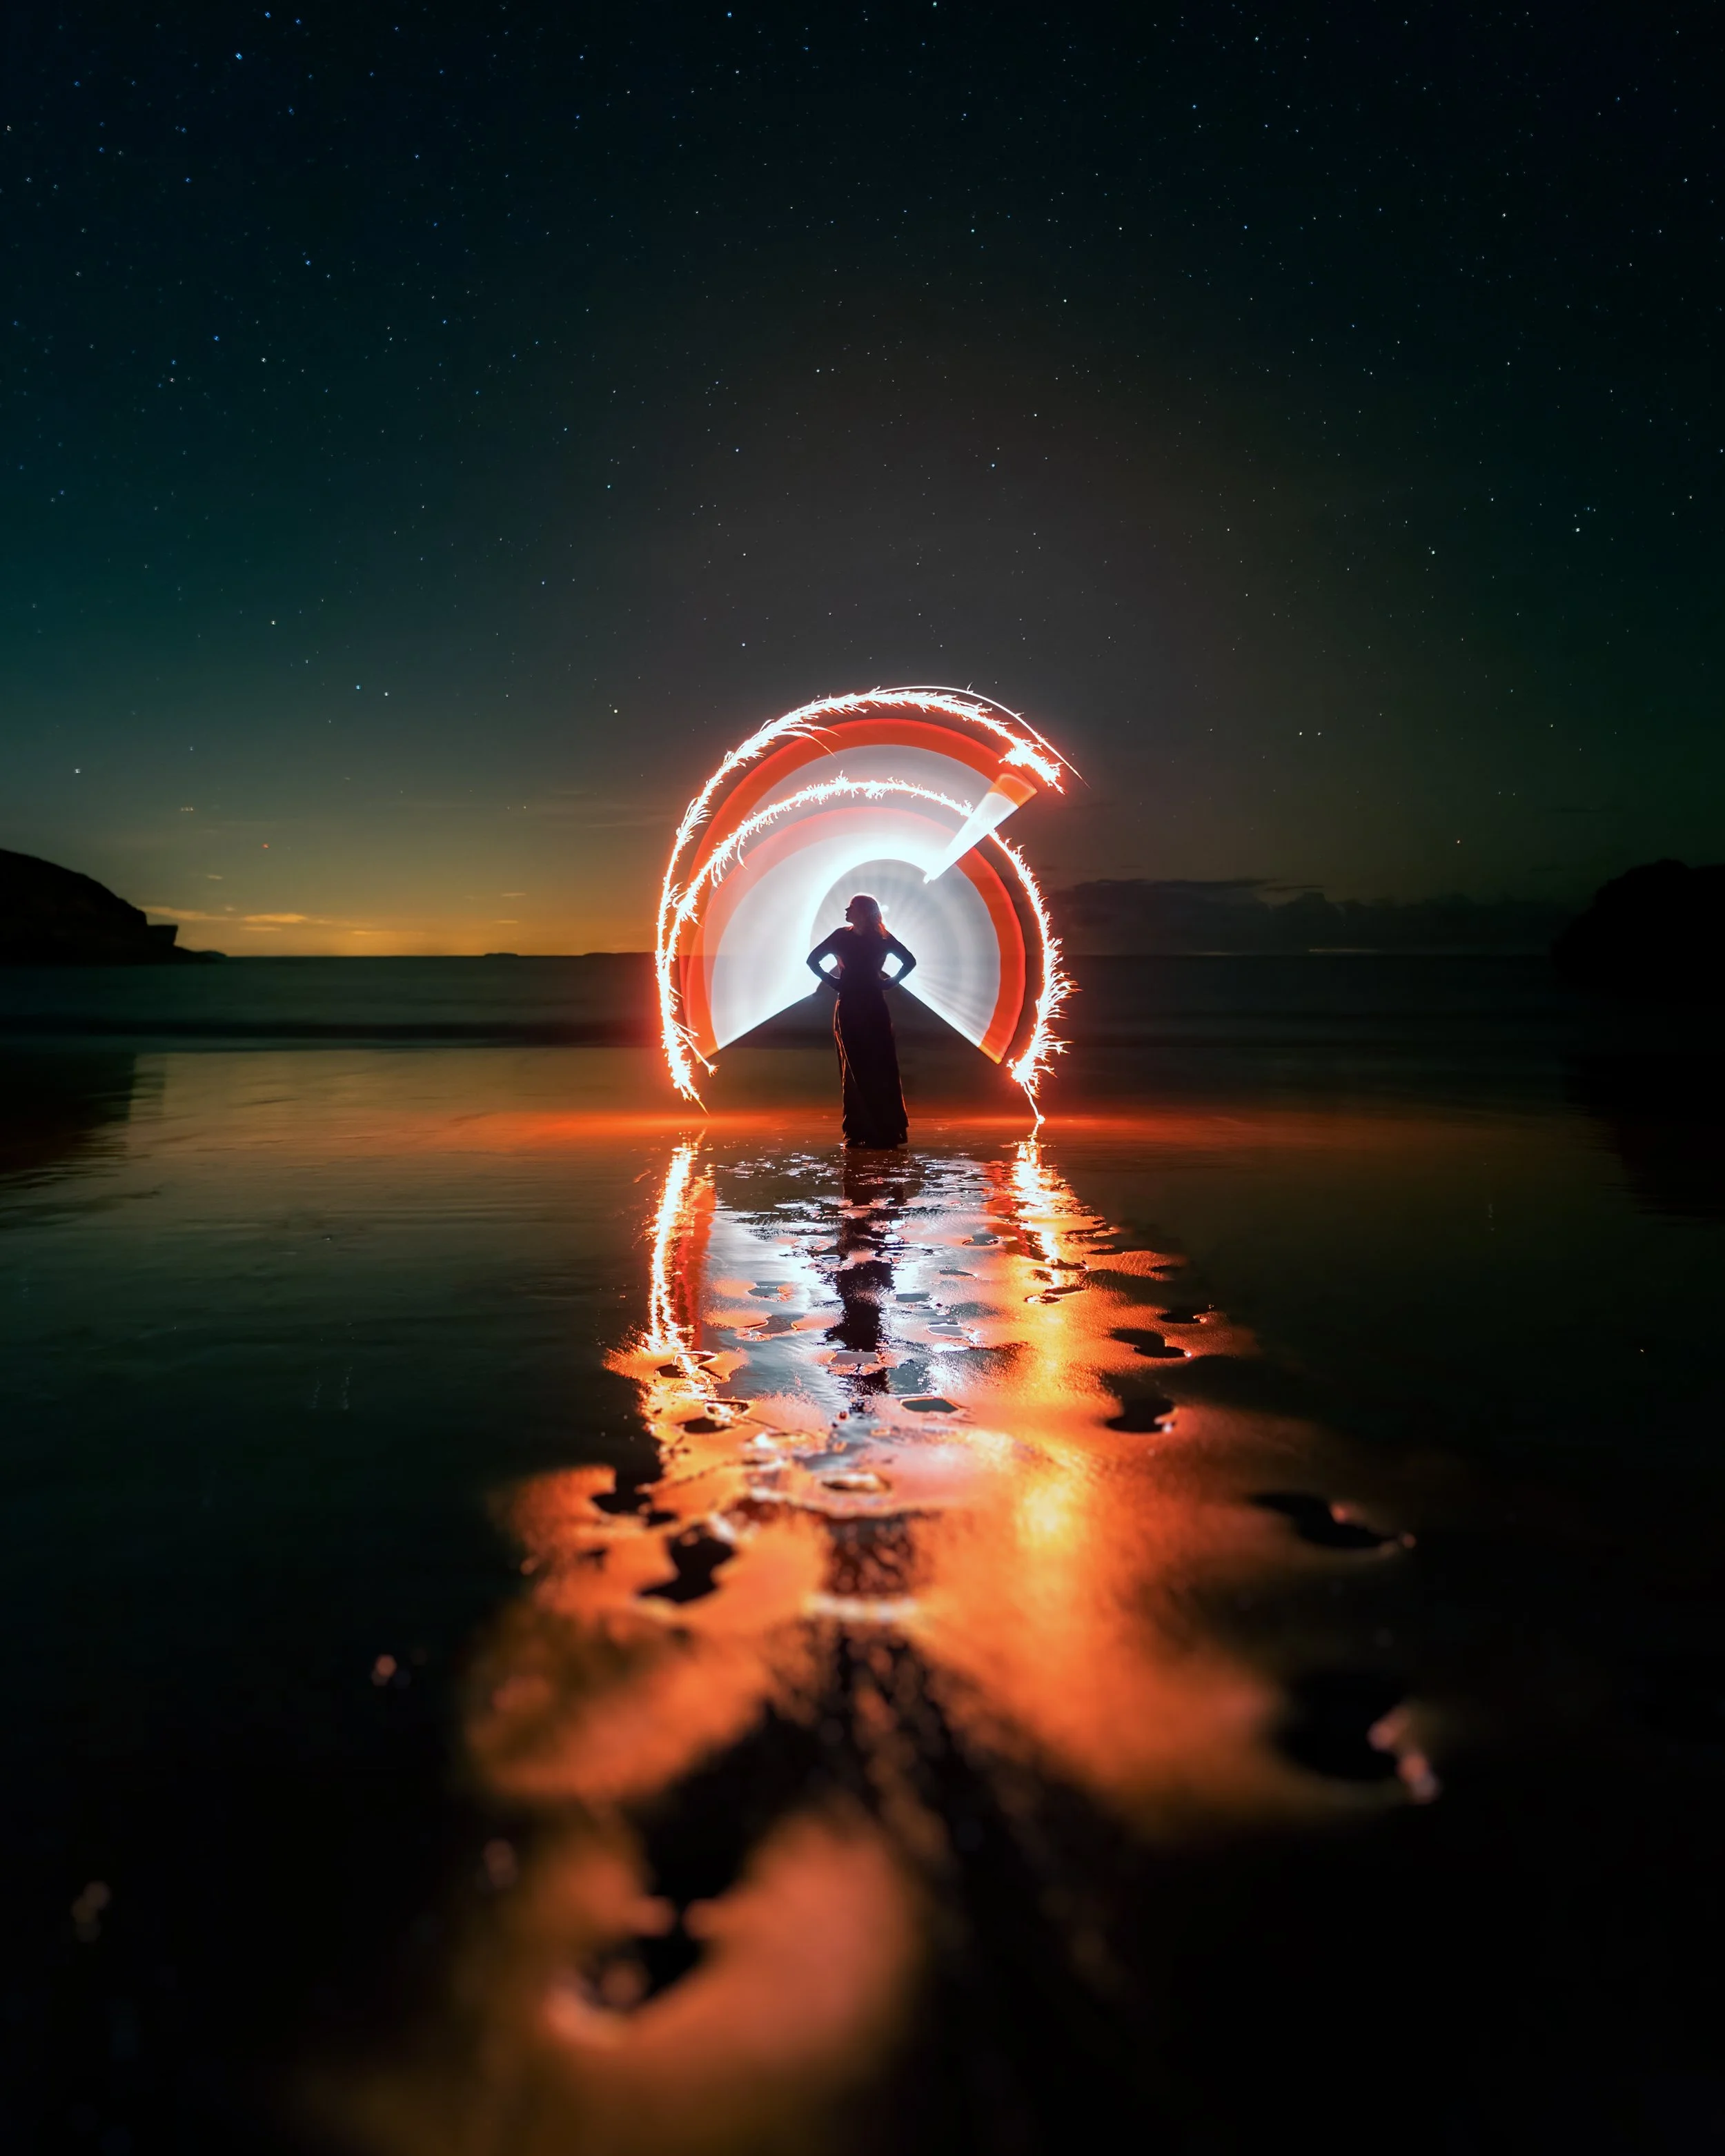
BEGINNER LIGHT PAINTING GUIDE
So, you’ve been on Instagram and wondered in awe at all the beautiful images people have made by light painting. You get a creative urge to do the same but don’t know where to start? Hopefully this guide will give you the introduction that you need in order to get going.
Understanding the basics of long exposure photography
The equipment you need to start light painting
How to get started taking photos
Step 1 : Understanding the basics of long exposure photography
First of all, you need to understand the basics of long exposure photography and how that applies to light painting. Once you have a grasp of the concepts explained here, we can then talk about the equipment that you will need to get going.
A ‘long exposure’ photo is where the cameras shutter is open for (usually) longer than 1-2 seconds. During this time the camera sensor is continually collecting light.
If you took a 5 second exposure during the day, then the sensor would collect so much light that the final image will most likely be completely white, otherwise known as overexposed. This is why we do light painting when the ambient light is low, usually around the twilight/night-time hours.
Take the same 5 second exposure at night, and this time your image will be made up of ALL the light that the sensor captures during that time. Have you ever taken a selfie in the evening on your phone and find that you are slightly blurred? Well thats because the camera set a longer exposure time to collect enough light, but in that time you were moving slightly.
The same concept applies to light paining! If you have a 5 second exposure time and move a bright light through the frame, the light be the same as your blurred selfie, showing up on the final image wherever you wafted it!
Step 2: Equipment
CAMERA
Now that you understand what a long exposure is, we need to look at the photographic equipment you need. Ideally, you will need a camera with which has a manual mode. This means that you can set the exposure time, aperture and ISO before taking a photo and computers inside the camera will not try and set those for you.
The camera in a phone for example, is used by most people on automatic mode. This means that sensors will examine the brightness of a scene and adjust the 3 settings for you, whereas in manual mode you can set these all yourself.
If you want to know more about exposure settings and what they mean, you can read up on that in this article.
The camera should also have a delay setting, meaning that once you press the shutter release, the photo will not start to take for 2-10 seconds. I will cover more advanced shutter release in another blog.
TRIPOD
Essential in long exposure for photography! Get a tripod, or if you don’t have one, make sure the camera is perfectly still on a rock or wall. Like I explained in stage one, any movement or light will be transferred into the final image. You can try holding a camera perfectly still for 5 seconds, but trust me, you won’t be as still as you think you are. Don’t be a Drax!
SOURCE OF LIGHT
The light source you use acts as your ‘brush’ for creating the image. The most common source is a torch - either used directly or in combination with another piece of equipment, such as our Choobs, to create a wide range of effects and images. Ideally the torch will be capable of multiple intensity settings and/or a strobe function but even the most basic of torches can be used to create good images! Other sources can include glow sticks, lasers and sparklers but any moveable object emitting light could be used.
LIGHT PAINTING TOOLS
Diffused Choob STARTER Kit from LUMINOSIFY
Once you begin experimenting with light painting you’ll begin to find a wide range of accessories that can be used to enhance your images, by adding additional depth through shapes, colour and texture. This is where a company like Luminosify are there to help, with a wide range of products to take your light painting up to the next level! Tube light painintng is a very popular ‘gateway drug’ into light painting. Very easy to do!
STEP 3: Take some photos and start light painting!
Now you have the basics down, you can start light painting. Take all your equipment to a dark place and set-up your camera on the tripod and switch to manual mode. Also make sure the shutter release timer is set to 10 seconds giving you time to get in shot if you are on your own.
First thing to do, is dial in some manual settings and take some test shots. One, to see what your composition looks like and two, to make sure you have the correct settings. A good starting place is f2.8, ISO 800 and a shutter speed of 6-8 seconds. If your lens doesn’t go to f2.8, try f4, ISO 1600 with the same shutter speed.
Once you have your settings dialled in, you need to take some test shots! Depending on the ambient light & the colour of your light painting tool you may need to adjust your light source brightness or settings.
It can be a bit trial and error, but once your surroundings and light painting are properly exposed, then it’s time to get going!! Waft that tool around and get those creative juices flowing.


